
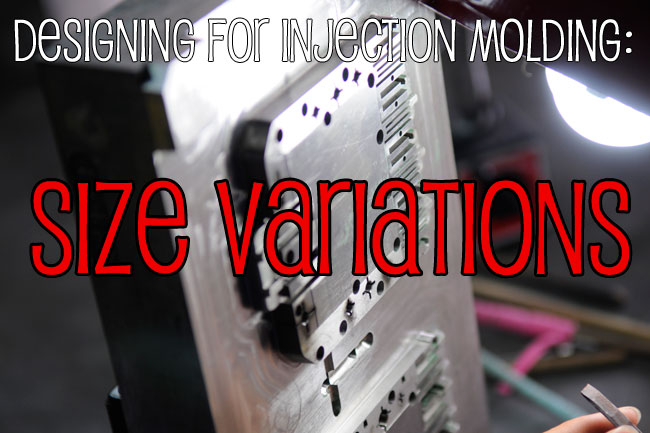
Size Variations
Having a beautiful 3D printed prototype or computer design doesn’t mean it will come out of injection molding perfectly formed. One common mistake that people make is by having size variations that are too drastic for the injection process to handle.
Although they might look good in theory, drastic size variations are very difficult to mold correctly because having thin and thick sections cool at different rates.
Because the solidifying of the plastic happens from the outside in, sections that are too thick can develop sink marks. These develop because the parts that are still warm tend to pull in on the already cooled parts so that the already cool surface gets pulled down by the warm inside. This pulling can cause warp between thick and thin areas too as the sinking effect pulls on the thin parts as well.
The best thing you can do for your part is to maintain a consistent wall thickness throughout your entire design. If you can’t, try to alleviate the stress by adding ramps and gussets in the corners so that the stresses of cooling won’t warp the parts so drastically.
Coring Out
Another way to help prevent stresses due to size variations is by “coring out” your design. Instead of having a thick chunk of plastic that might warp or sink, have a piece of plastic with fashionable ribs.
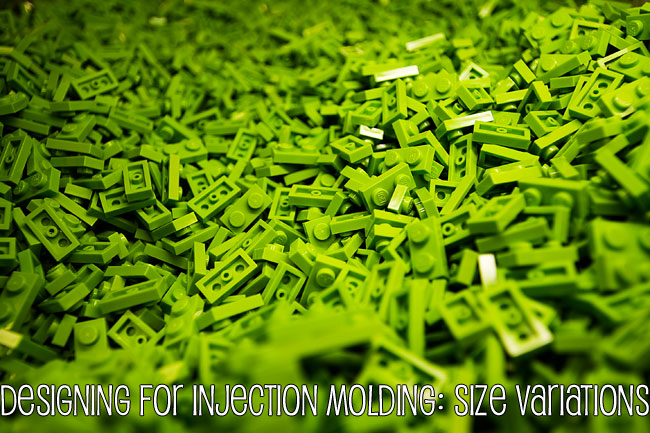
This picture shows a popular object using injection molding: legos. Rather than having thicker places of plastic, legos have been cored out to reach maximum efficiency.
This won’t harm the function of your product. We only “remove” plastic (really, we leave in metal) that doesn’t contribute to the strength.
Plus, if you don’t like it, we can always remove more material from the mold so that more plastic ends up in the final product.
If you look at the plastic objects you use in your everyday life, you’ll start to notice that they maintain very uniform wall thicknesses. Strive to repeat this in your own design to get the best product possible.
Changing the Mold
You’re making a prototype because you want the ability to make tweaks as you go, but you need to keep some things in mind as you’re deciding on changes:
Injection molds are made by milling out steel blocks. Removing metal means more plastic ends up in the final object, and even though it’s very easy to remove metal, it’s almost impossible to put it back in.
That means it’s better to mill a smaller amount of metal out of the mold and add less plastic. If you decide you need to change something, it’s always better to be adding more plastic into the final part (removing metal). This is called a “tool-safe mold change.”
If you’re not sure about one of the features you read about here, it’s better to be safe than sorry. You can fill a hole in the plastic but you can’t add it in later because it’s made with a metal post in the mold. You can add text by coring out letters in the mold, but you can’t take letters out of the plastic by filling up the spaces in the mold.
If you remove metal from your mold and later decide it was a mistake, there are methods to change the mold still such as welding a “blob” of metal and machining/EDM-ing the blob. It’s still far more expensive to add metal to a mold though, and it can impact the life of your mold. In a worst case scenario, you may have to completely start over with a new mold—adding time and expense to your project.
Don’t want to miss any of the tips in this series? Subscribe to our newsletter to get them delivered straight to your inbox.
Plastic Choices | Size Variations | Clips & Hinges