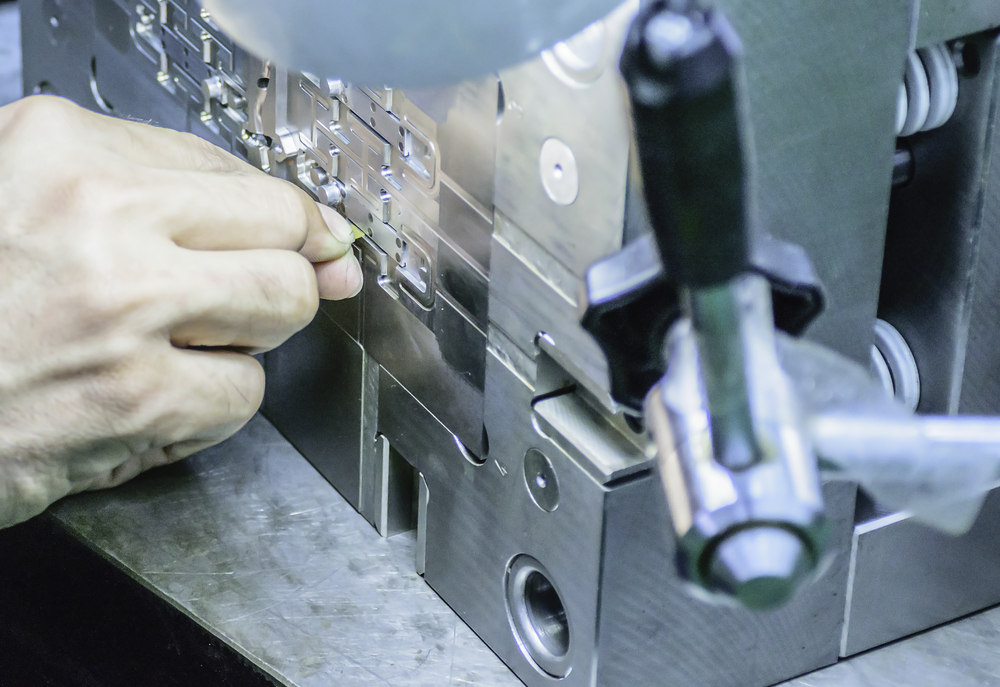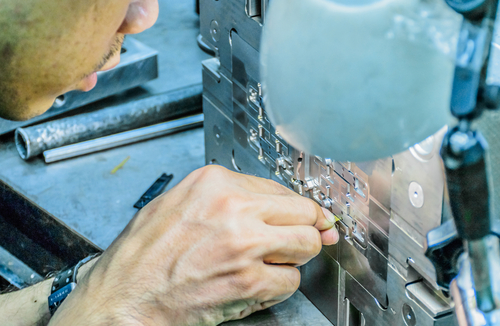
When done correctly, injection mold polishing can be the finishing touch that makes a big impact on the success of your injection molded part or product. Whether it’s achieving a reflective mirror finish for technical-grade pieces or finding just the right texture and method to get the perfect look for a consumer product, one of the last steps in the process of fabricating a mold is certainly not the least. The intricacies and challenges of mold polishing back that sentiment, so this piece is intended to provide even more information about injection mold polishing — beyond the basics.
Getting the Most Out of Common Types of Mold Finishes
As we review the most common types of injection mold finishes, we’ll examine some of their ideal uses and share a bit more information on each.
Stone finish: The roughest level of polishing, typically achieved with a polishing stone applied to a mold to smooth out the roughest and most apparent machining marks. There are many levels of stone finish, which we’ll touch on later. Stone finishes can be suitable for consumer products. Though due to their more irregular nature, are usually not suitable for tighter-tolerance applications.
Paper finish: Paper finishes are smoother and somewhat more reflective than stone finishes, and are achieved with standard sandpaper-type abrasives applied in one direction to the mold. Paper finishes can achieve smoother textures for consumer products while still retaining a matte finish. Paper finishes are also an intermediate step on the way to a mirror finish.
Mirror finish: Highly reflective, almost completely smooth finishes that result in injection molded parts with that same smooth texture. Mirror finishes are typically required for industrial pieces and other applications where very tight tolerances and low friction are required. The time and effort necessary to achieve a mirror finish through mold polishing is often prohibitive, unless the piece requires it for a functional reason.
Mold Finish and Part Ejection
Mold finish can have a big effect on how easy or difficult it is to eject the part from the cavity once it has cooled. Interestingly, an overly smooth finish can present just as many problems as an overly rough one. The overly rough finish (defined here as a finish that’s rougher than a stone finish) presents the obvious difficulty of too much friction for a clean part ejection. As with any uneven surfaces that are in close contact while in motion, the risk of further abrasion to the part is high in this scenario.
With highly smooth mold finishes, such as mirror finishes, the lack of texture can make it more likely that a piece will “stick” in the mold. Stuck pieces will usually end up damaged from the ejector pins or other abnormality and take longer to process, regardless. As such, it’s a best practice to determine and adhere to the minimum level of finish that you or your client requires, which still meets the project’s requirements.
Mold Polishing Equipment
The basics of mold polishing equipment are pretty simple: a handheld flexible drive grinder, with the right attachments for special scenarios (such as lapping features or polishing hard-to-reach places). There are a few aspects to keep in mind, however, in order to achieve the best possible results and maximize your investment in equipment and polishing personnel.
Make sure you have the right tools: With highly precise, critical applications like mold polishing, it’s best to not attempt to “make do” with existing equipment. Be sure to have a foot-controlled unit for maximum precision, and the right attachments: a right-angle head, a reciprocating unit and a straight handpiece with collets, at a minimum.
You get out what you put in: Without the proper equipment, any investment you’ve made in mold polishing could be a wasted one. Don’t sell your shop or your personnel short by cutting corners in this area: Your ability to effectively deliver the right finish in the right amount of time can play a big role in your success as a mold contractor.
Don’t overlook your personnel: Injection mold polishing is as much art as science. While there are plenty of best practices and techniques, there’s no “textbook” way to get the best results. Experience is key, as is a “feel” for the job — it’s a case where you’ll know the best results when you see them. These properties often can’t be completely quantified, so you may have to seek a polisher that you like (whether in-house or contracted) — but it’ll be worth the time and effort in the long run.
More Types of Polishes and Finishes
Beyond the umbrella overview of different types of mold polishing and finishes described above, there are a vast number of intricacies and details that can be imparted to a piece or product via its finish:
Different levels of stone or paper finish: Stone and paper finishes both have a wide range within which they can fall. While it’s best to seek the minimum level of finishing with which your part can still function and perform to spec, you should also take the opportunity to explore more specific finish options. For consumer products, for instance, a slight difference in gloss level in a paper finish can make the difference between a classic-looking matte finish, and something that might appear overtly plastic and “cheap.”
Textures and features: As a best practice, paper finishes are usually applied in one direction to provide a uniform smoothness. Higher levels of finish are applied in different directions, up to (if necessary) where the mirror polishing stage begins. With lower grit numbers, the texture from the polishing media will be visible. Depending on the needs of your product, these polishing techniques can be used to create patterns or other unique finishes on your part during the manufacturing process — rather than with more costly finishing processes after the fact.
If you have more questions about injection mold polishing and what kinds of results it can produce for plastic injection molded products, be sure to reach out to RevPart today.


