
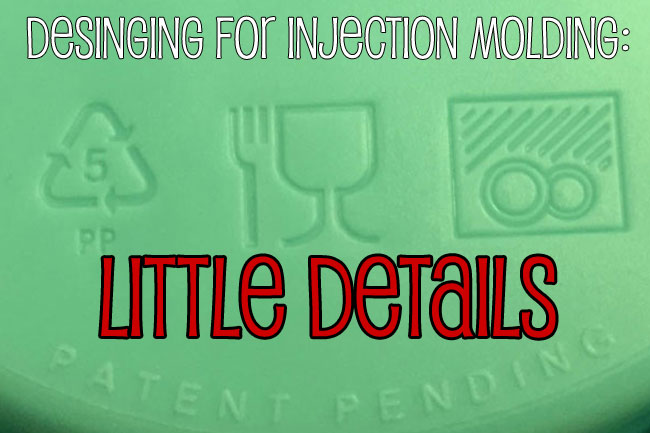
Adding text
A lot of plastic parts have some kind of text on them—a logo, recycling information, and a warning if your part has a patent. If your injection mold design needs text (or illustrations), there are a few things to keep in mind as you add the information to your CAD file.
Remember that molds are the opposite of your finished part, so if you want embossed plastic text, we’ll engrave the letters right into the steel mold. If you want raised plastic letters, you need metal cored out to make your text.
This is the best way to get clear, sharp text in your plastic injection mold design, because we can polish the cavities by hand, giving you a smooth finish. Having engraved plastic text means milling metal out from around the letters. But just because this is easier for us doesn’t mean it’s what’s best for your part, so choose what’s best for you and let us worry about the rest.
There are some things that make text clearer and easier to read: you should use a sans-serif font (like the text you’re reading now), but bolded. The larger the font size, the easier it will be to mill properly without requiring further adjustments.
Each letter should be a minimum for 1.5mm high. You should also add two to five degrees of draft whenever possible for easy ejection from the mold. Without the draft, the ejection process might leave drag marks on the edges…or even get stuck in the injection molding machine, damaging it.
We’ll warn you if your text design might cause some problems, but it’s likely you’ll only need minor fixes, if any. It’s our job to make sure your plastic injection molding design comes out exactly how you want it, so feel free to send us your questions and concerns as you request a quote.
Radius Your Corners
As you’ll remember from our post, size variations can cause warping in your injection-molded part, and a 90-degree corner is a great example of where cooling plastic ruins already set plastic.
In an item with a sharp corner, the outside has more surface area than the inside. This means that the outside will cool faster, and as the inside cools more slowly, it contracts, pulling the outside edges in. This means your perfect 90-degree angle isn’t 90 degrees anymore.
To remedy this, we recommend using radiused, or rounded, corners.
Rounded corners not only make your custom injection molds look sleeker, but it will also prevent warping as the plastic cools. When corners have a radius, the outer and inner edges have the same surface area so they cool at about the same rate, reducing shrinkage or warpage.
Another problem with sharp corners is that they can actually get stuck inside the mold. Injection molds are designed to forcibly eject the plastic parts at the end of the process, but sharp corners can get caught in the mold. This can create unsightly drag marks or actually damage the part itself, which definitely isn’t something you want.
Like with the text, we want to maintain integrity to your design throughout our injection molding process, and it’s our responsibility to get your part—sharp corners, text, and all—safely out of the mold and into your hands.
Don’t want to miss any of the tips in this series? Subscribe to our newsletter to get them delivered straight to your inbox.
Clips & Hinges | Little Details | Shapes & Parts