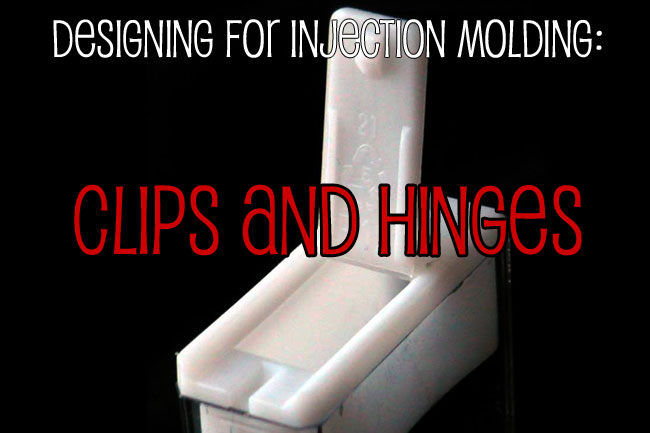
Living Hinges
We’ve all seen plastic boxes with built-in hinges that easily open and close. In injection molding terms, these are called “living hinges” and are made right into the design instead of adding them later.
Below a certain thickness (and you’ll want your hinge to be fairly thin), some types of plastic molecules arrange themselves in the direction that they’re flowing, making them much stronger than usual. This means that you can bend the thin area across the molecules over and over without harming the plastic at all.
A well designed and well executed living hinge can last for millions of cycles without breaking or cracking.
You have to be careful about how you design the hinge, though. If it’s too thick, it will crack when you bend it the molecules get their strength only at the right thickness; making it too big will mean having a fragile hinge. If the hinge is too thin, it will crack and be rendered useless.
We will help you work out the details of your living hinge. We can tell you if it’s too thick or too thin, and we’ll arrange the gates (with your approval, of course) to prevent improperly placed knit lines or sinking in the plastic downstream from the hinge. It’s our responsibility to make sure your design comes out of the mold working properly.
Using a living hinge can vastly improve the functionality of your product and save you time and money over adding traditional hinges.
If you are looking for in-depth design advice for living hinges then checkout our Living Hinge Design: The Ultimate Guide post.
Clips
Parts with hinges often have clips as well.
Injection molding can make spring clips, but there are some things you may want to consider…
The material you choose needs to be flexible enough to allow the clip to bend in the same direction over and over again. If other parts of your design mean you can’t choose a flexible enough material, you’ll have to make other design adjustments.
One option is to make the flexing arm longer. You can do this in one of two ways: adding height to the flexing arm itself, or, if that isn’t a possibility, notching the wall on either side of the clip. Notching the wall lengthens the clip without actually making it any taller.
You can also make the wall itself thinner so that it’s more flexible without adding height to the arm or notching the wall. This, of course, brings its own set of challenges because if your wall is too thin, it might cause other problems (like warping or cracking).
Another option is to make the hook at the end of the clip smaller so that it moves less when it’s engaged. If it doesn’t need to move as far, it can be less flexible. As long as the hook is large enough to do its job, reducing the size can increase functionality without requiring other compromises.
If you want your clip to last as long as the rest of your part, be sure to design it so that the stress is properly distributed. Rounding the corners and adding fillets can significantly add time to your product’s life.
But don’t worry. We can help you with perfecting your clips or hinges so that they work perfectly. Let us know if you have questions or if you want to send us your design for a quote.
Don’t want to miss any of the tips in this series? Subscribe to our newsletter to get them delivered straight to your inbox.
Size Variations | Clips & Hinges


