
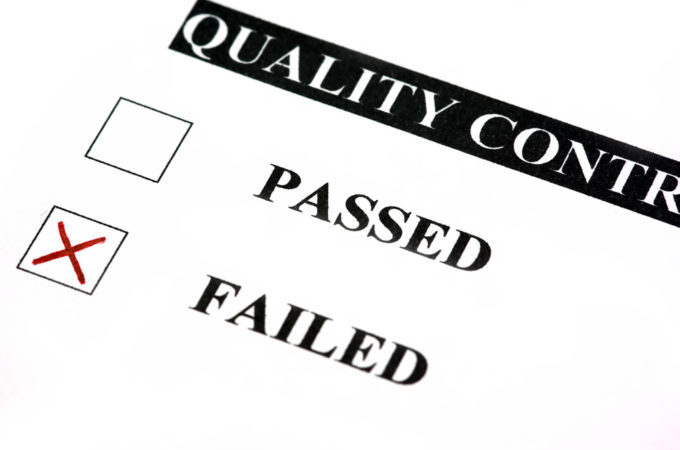
Failure of your injection molding part can prove to be one of the most costly production issues that you can encounter. Not only must you absorb the cost of rejected pieces, it’s likely that you’ll also need to adjust the design of your product to be more conducive to the plastic injection molding process. Aside from this additional R&D time and expenditure, this means new tooling costs as well. As the direct costs add up, your time to market is also drawn out longer and longer, creating a double-whammy to your bottom line.
Your best solution to preventing a custom injection molding part from failing is to be design- and process-conscious as early as possible in your product development cycle. Injection molding has several unique properties and requirements as a process, and it’s helpful to be aware of these as you move from conceptualizing a product to designing it, prototyping it and moving it through to production. In addition to the particulars of the process, these injection molding tips can further help to prevent your pieces from failing.
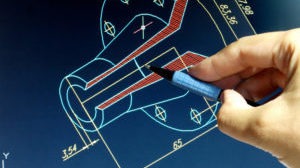
Learn the basics of injection molding design. There are a number of best practices that can help ensure a strong, stable, viable injection molded part that is minimally subject to failure. We’ve discussed those practices in past injection molding articles, but it’s always helpful to have an overview to keep them front of mind. The following design practices and principles can go a long way toward a successful production run:
- • Uniform wall thickness: Differing wall thicknesses can affect the flow and hardening of the injection molding resin used, creating irregularities, cavities, and sink marks or holes. By keeping wall thicknesses as uniform as possible, you can better predict and account for these factors. If differing thicknesses are an absolute requirement, be sure to design them to change gradually, not abruptly.
- • Rounded corners: Ninety-degree angles present a major challenge in injection molding. It’s difficult if not impossible to ensure that the resin fills in these corners completely, so optimal injection molding design avoids sharp angles whenever possible. Instead, design your part with rounded corners.
- • Draft: It’s important to remember that once your part is injection molded, it needs to be released cleanly from the mold. A great deal of part damage and failure occurs during part ejection. By designing your piece with draft — meaning tapered walls — you can help ensure that this part of the production process goes down without a hitch.
Keep it simple. More complex part molds are more difficult for the injection molding resin to fill completely and uniformly, and can create wildly variable cooling times throughout the part. If the resin is not cooling and hardening in a uniform or at least predictable manner, the still-heated parts of the material can continue to flow irregularly and in an unintended way. At best, this results in flow lines on your part, which are simply a cosmetic distraction. At worst, you will have sink holes and cavities in your part, which mean that it will be rejected. Remember that internal cavities are all the more dangerous because they must be tested for and may not be readily apparent. To prevent these issues, keep your part design minimal and function-focused.
Know what you’re up against. Injection molded parts can fail in a number of ways. By knowing the different types of failure that can befall your product, you’re better equipped to plan and design to counteract them. We’ve already mentioned some, but as a quick reference, this is a more complete list of potential part failures:
- • Cavities: Internal gaps in a part as a result of improper resin flow.
- • Sink marks or sink holes: The result of the outer wall of a part caving or fully collapsing in on a cavity.
- • Burn marks: If some of your resin remains hot and liquefied while adjacent to a cooled and hardened section, it can scald the surface, creating burn marks.
- • Flow lines: Surface irregularities as a result of differing cooling times.
- • Warping: Caused by unexpected shrinking of the hardened resin as it cools. Resin shrink should be accounted for in part and mold design.

Prototype, prototype, prototype. Even if you choose a more cost-effective prototyping method like 3D printing, you can still gauge the manufacturability and structural integrity of your part, especially if you or your prototype provider is able to design the part to closely mimic the physical properties of your final production material. At the outset, you may want to prototype just for aesthetics, function and form, but as you iterate and refine your design, you can begin incorporating manufacturability and part-integrity concerns into your prototypes.
What else can your prototyper do? If at all possible, it’s beneficial to work with a prototype provider that can also fulfill your production needs. A facility that offers both prototyping and production has a firsthand look at your design in its early stages, and can work directly with you to improve its manufacturability while keeping your requirements intact. Although many production shops don’t offer prototyping, and many prototype providers don’t have production capabilities or capacity, expertise in these two areas is not necessarily mutually exclusive. Just be sure that you choose a provider that has honed its experience in both areas.
Be objective — even critical — about your product and its function. It’s very likely that your initial vision, plan and design for your part will be at odds with the realities and requirements of injection molding. For this reason, it’s important to take a step back early in the process and conduct a critical, objective analysis of your part, its design and its function. Your next step from here could even be to prioritize specific elements. Which design elements or functionalities are mission-critical? Which could be modified or eliminated? (Remember that simpler parts are easier to produce). If you know the answers to these questions and communicate them to your molder early in the process, the molder can work with you to create a more optimally manufacturable product from the outset — not after part failure.